6 Causes That Your Hisense TV Has Dead Pixels!
Have you tried, excitedly, watching your favorite movie, but some black dots interfere, so watching the movie becomes uninteresting?
Of course, this isn’t very pleasant. However, the appearance of the black dot is most likely the result of some dead pixels on your tv.
Therefore, you ask, what are the causes and possible solutions to dead pixels on your Hisense tv?
The most common cause of dead pixels is a manufacturing defect. A dead pixel occurs when the transistor powering it fails to supply power, causing it to remain permanently black, never lighting up. Dead pixels can also appear later in a screen’s life, mainly due to physical damage.
In today’s article, I’ll provide six reasons and solutions for dead pixels on Hisense TV. Therefore, you should read further if you want to uncover this mystery with me.
6 Causes of Dead Pixels on a Hisense TV With Solutions
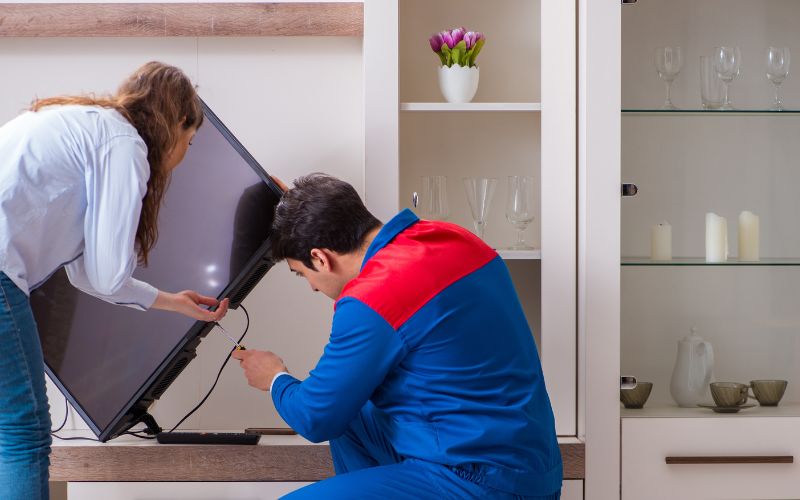
The major cause of dead pixels on a Hisense TV is when the pixel is broken or an improper connection on the screen.
Other reasons can be accidental damage, including too much weight on the TV or someone accidentally bumping into it.
However, before explaining the causes of dead pixels in detail, it’s important to understand fully what a dead pixel is.
A dead pixel is a tiny black dot that interferes with and ruins the correct color of a TV screen.
The dot can be black, which means it’s off, and can also be green, purple, red, or white; in that case, it’s stuck on a specific color.
In any case, this small point of discoloration tends to ruin the view of the television.
However, you should note that the presence of one or more dead pixels does not mean that the entire television is faulty. It is still possible to use all of its features.
However, if those dead pixels are ruining your viewing experience, consider solving them after determining the exact causes.
Below Are The Six Reasons For Dead Pixels on Hisense TV;
- Broken pixels
- Faulty power connection
- Insufficient electrical power reaching a pixel
- Improper connection
- Placement of weight or a heavy knock over the television
- Excessive use of the tv
With the above causes in mind, you can use the following solutions to eliminate dead pixels on your Hisense TV.
#1. Use Appropriate Software
To use this method, it is necessary to have a computer near the TV and an HDMI cable that will allow you to transform your TV into a secondary screen for your PC.
Once you make the connections, download the Pixel Réa software on your computer. The software is a free solution that can detect dead pixels and attempt a repair.
The software will seek to “unblock” the dead pixels by varying the display very quickly on the screen.
The process is quite long: you must let the software run for several hours to hope for a result. Stuck pixels will have a chance to come back to life with this solution.
#2. Let the Screen Rest
It’s a suggestion that may seem absurd, but sometimes dead pixels appear after very intensive use of the television.
Therefore, If you enjoyed a TV show marathon all weekend, then dead pixels appear; you can try leaving the screen off between 12 and 24 hours.
After then, switch the TV on again to check if they are still present. Sometimes this simple manipulation can be enough.
#3. Use a Suitable YouTube Video
This process requires you to have an internet connection. Go to YouTube from your television’s interface (or your smartphone if you use Chromecast), then search for “dead pixel fixing.”
You are going to find many videos, which are usually very long.
Pick one at least an hour long, but be aware that the longer the video, the more likely the rescue attempt will be successful.
Then let the video run for as long as possible. Varying the colors on the screen can help dead pixels unblock and work again.
Note: if you have epilepsy, do not stare at your television screen during this test phase!
The very rapid color variations could generate an epileptic seizure.
#4. Wait for a Little Longer
This method is not very satisfactory, but sometimes the extinction of a pixel is only temporary.
Sometimes, after trying everything, we see after a few days or weeks that the pixel has reactivated itself.
However, there is no exact time to wait before we see the dead pixels alive again.
#5. Apply a Little Pressure
Apply this method at your own risk; the dead pixel can come alive and generate others if you press too hard.
Please turn on your TV and display an entirely black image on it, for example, by setting the remote control to an unoccupied HDMI channel.
Then, using the pulp of your index finger, gently massage the spot where the dead pixel is. You should see a sort of colored halo appear around the massaged area.
Press for two to three seconds, then check the result. You can start over several times.
You probably have to consider changing the TV if nothing changes after a few minutes.
However, this method will likely void your warranty or may even make the problem worse.
So you need to apply this method with utmost attention because it’s not only the least effective but also the most dangerous for your screen.
How Do You Check Dead Pixels on a TV?
To quickly check for dead pixels, you can use a pre-prepared flash drive or a smartphone with a USB cable.
Download five monochrome images to the device memory, where there will be white, black, red, green, and blue colors.
In the store, connect a USB flash drive or a phone to the TV using the USB connector on the back of it.
On TV, open the apps menu and go to the file manager. Find the connected gadget and open all images in its memory.
When examining the image, it should be solid and without any flaws. It is especially necessary to pay attention to the black color since the light is visible.
You need to upload high-quality images with a TV aspect ratio. Most often, this value is 16 by 9.
Most importantly, the downloaded images cover the entire matrix and give normal light without any gaps.
How Do You Stop Dead Pixels From Spreading on Your Hisense TV?
You can stop the spreading of dead pixels on your Hisense tv by following the step-by-step guide below:
- Identify the exact location of the dead pixel.
- Turn off your TV and unplug the cable from the socket.
- Get a piece of cloth/handkerchief, wet it, and rinse it a little.
- Use the not-so-wet cloth to apply pressure in the dead pixel area.
- Turn on the TV while applying pressure, and the dead pixel won’t be visible again.
NOTE: Remember the exact location of the dead pixel to avoid creating other dead pixels. Use this method in any place you notice a dead pixel.
Can You Return a Hisense TV With Dead Pixels?
Hisense warranty covers any damage that occurs 36 months from purchase.
However, the damages must not come from any of the following:
- Improper set-up or positioning of the tv
- Failure to use the tv under the manufacturer’s recommendations.
- Accident, negligence, theft, misuse, abuse, etc.
- Electrical problems.
- Software errors
- Using equipment on the TV that Hisense doesn’t authorize.
FAQs
#1. Are Stuck Pixels Permanent?
Unlike dead pixels, stuck pixels are temporary. A little adjustment can remedy stuck pixels.
#2. Do I Need to Fix Dead Pixels, or Can They Disappear on Their Own?
Dead Pixels don’t disappear on their own. You need the service of a professional to get rid of them.
#3. Is Dead Pixel a Big Problem?
A dead pixel isn’t a problem; it becomes a problem only when it’s spread and becomes multiple.
#4. What Color is a Dead Pixel?
Dead pixels are black. No matter how much your screen changes, those pixels will stay fixed in one place and won’t change color.
Conclusion
A Hisense TV has millions of pixels; therefore, you shouldn’t worry if you notice a few dead pixels on the screen.
However, depending on the location of the dead pixels, some can interrupt your view.
In that regard, you can use any of the methods we outlined above to fix dead/stuck pixels.


